With Easter approaching, the anticipation of gift-giving
fills the air, and what better way to enhance the joy than with exquisite
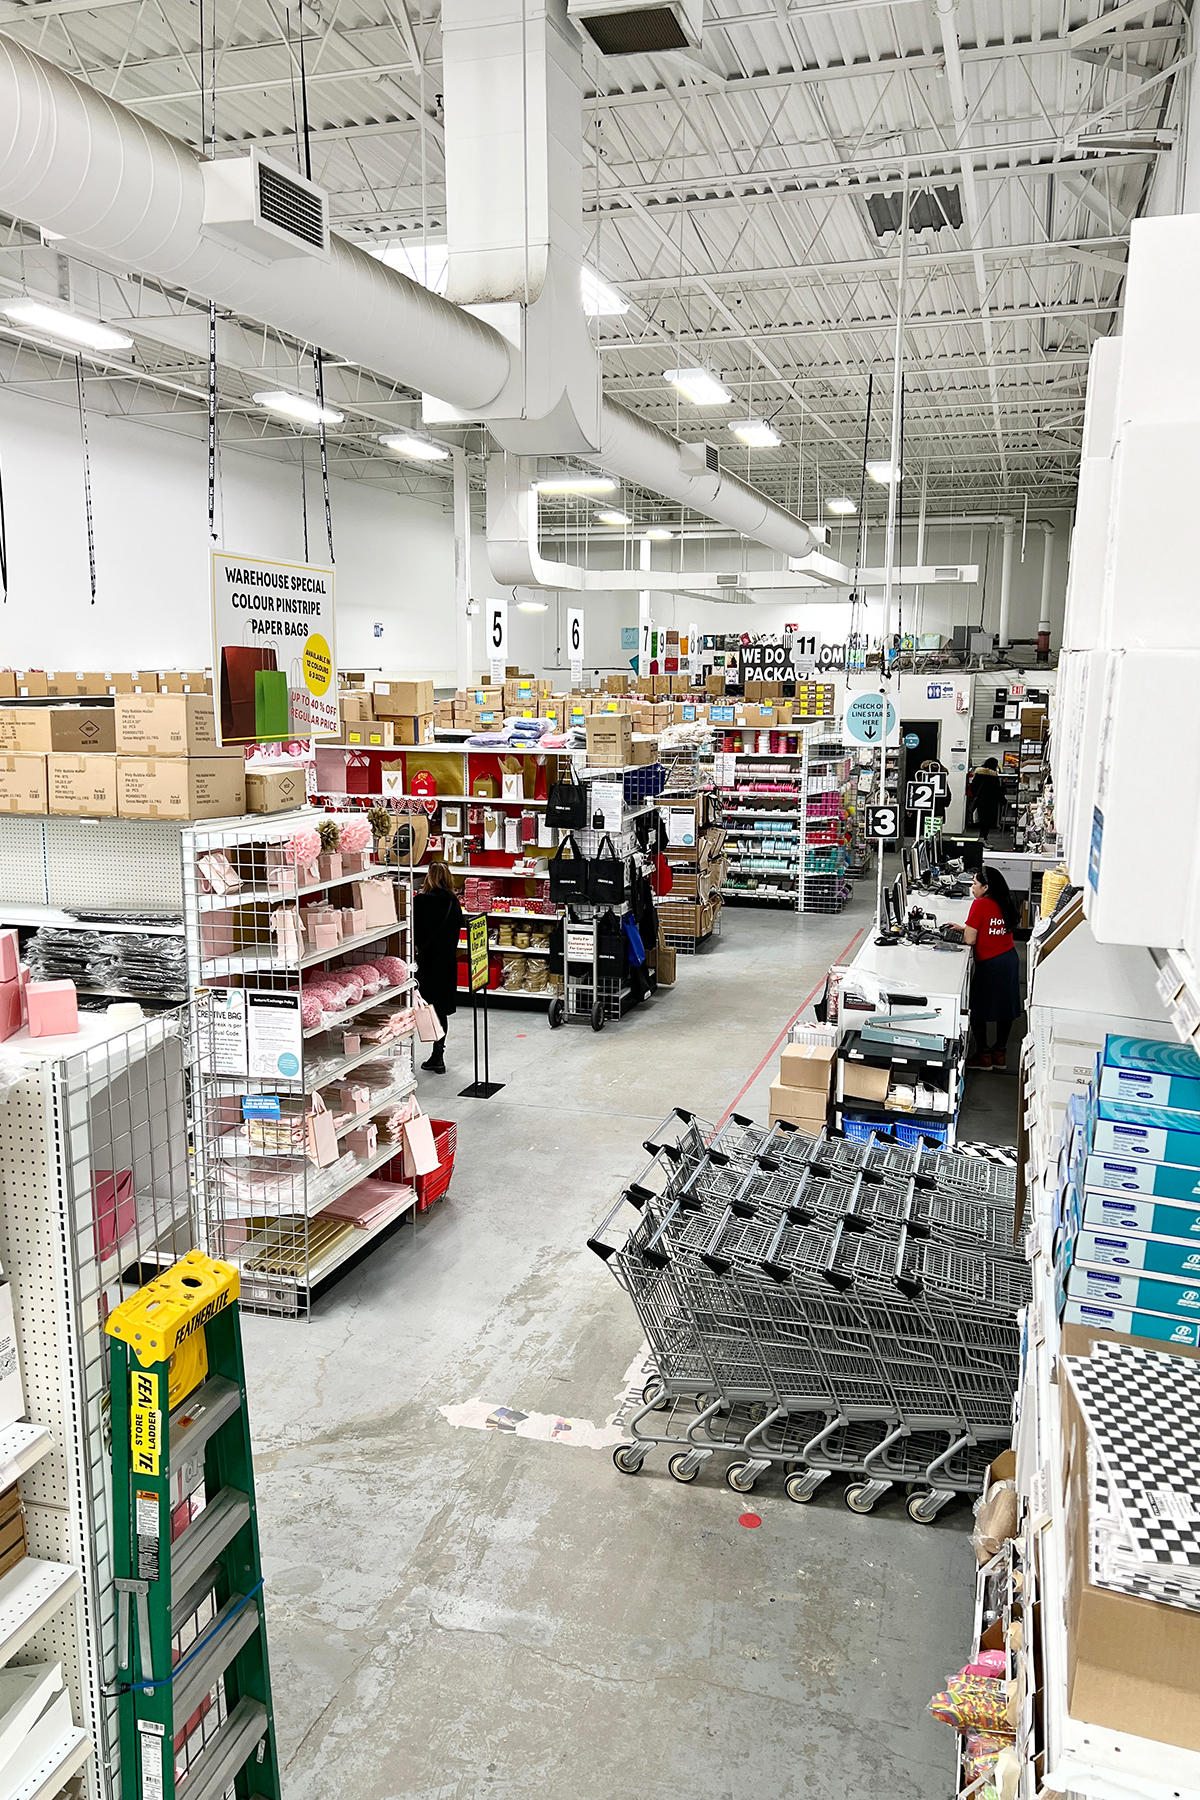
packaging? At Creative Bag, we recognize the importance of creating lasting
impressions through thoughtful presentation. In this blog post, we'll delve
into the art of combining flip top gift boxes, bakery boxes, clear boxes and
bags, round gift boxes, and ribbons to fashion stunning Easter gift packaging
that captivates and delights.

Flip Top Gift Boxes: Unveiling Elegance
Embark on your Easter packaging journey with flip top giftboxes, adding an air of sophistication to your presents. These boxes not only
exude luxury but also provide a sense of anticipation as they unfold, elevating
the gift-opening experience. Perfect for showcasing an array of Easter treats,
from decadent chocolates to beautifully decorated cookies.

Bakery Boxes: Showcasing Delicious Delights
Enhance the appeal of your Easter baked goods with specially
crafted bakery boxes. Whether it's hot cross buns or intricately decorated
cookies, these boxes not only safeguard your treats but also add a delightful
touch to your gift presentation. Opt for windowed options to entice recipients
with a sneak peek of the mouthwatering delights within.

Clear Boxes and Bags: Modern Simplicity
For a contemporary flair, incorporate both clear boxes and
bags into your Easter packaging ensemble. Ideal for displaying colorful
candies, decorated eggs, or sumptuous cookies, clear packaging offers a sleek
and minimalist aesthetic that complements any gift. Their transparent design
adds a modern touch while showcasing the contents in all their glory.

Round Gift Boxes: Timeless Charm
Embrace the timeless allure of round gift boxes, ideal for
Easter presents of varying sizes. These boxes add an element of surprise and
distinction to your gift-giving experience. Experiment with different sizes and
patterns to craft a visually striking presentation that reflects the
thoughtfulness behind each gift.

Ribbons: The Perfect Finishing Touch
No Easter packaging is complete without the exquisite touch
of ribbons. Choose from an array of colors and textures to infuse elegance and
panache into your gifts. Whether it's a simple bow or an intricate knot,
ribbons seamlessly tie together the elements of your packaging, elevating the
overall presentation.

This Easter, elevate your gift-giving experience with a
meticulously curated selection of packaging products. At Creative Bag, we offer
a diverse range of options to help you fashion unique and memorable Easter
gifts. From flip top gift boxes and bakery boxes to clear boxes and bags, round gift boxes, and ribbons, each element plays a pivotal role in crafting a
presentation that speaks volumes. Celebrate the season of renewal with
packaging that radiates charm and sophistication, leaving a lasting impression
on your customers and loved ones.