

I am so excited to tell you all about the YouTube video series that we are working on with Petite & Sweet. Elle Daftarian approached us a little while ago about her idea for hosting a series of how to videos and posting them on YouTube. Elle has been one of our customers for an number of years and we enjoyed watching her show, Sugar Stars, on the Food Network. We are delighted to be working with Elle and her team on this project. Elle is so creative (and sweet) and she is going to share with all of us her secrets & tips for putting together her signature sweet tables. Of course, Elle will be using lots of Creative Bag products in the videos!!
The first video is live now. It's themed for an Easter sweet table. There are so many great ideas and most of the ideas and tips can be any sweet table set up ... not just Easter.
If you hop over to the Petite & Sweet blog you can find the free downloads for all of the projects shown in the Easter themed video as well as some recipes.
I shot some close ups of the sweet table as we were filming and so you could see them. The links to the products are under each photo.

(pictured above top left to right):
1. Download the bunny ears, print them on white cardstock and attach them to our stand up candy bags for a cute, quick and easy Easter favor.
2. Marshmallows were decorated with edible ink pens to look like bunny faces and arranged in metal buckets decorated with ribbons and sizzle. Our ceramic Easter bunny heads (which are sold out now - sorry) were used to display mini cupcakes that Elle decorated to look like birds nests.
(bottom left to right):
1. Colourful cake pops were made a little more special by adding our paper straws to the lollipop stick. They were displayed on the sweet table in one of our white baskets that was decorated with ribbon and sizzle.
2. Our glass beverage serving dispenser can be ordered online - make it special by adding ribbons and one of the downloadable labels. Add colourful paper straws to simple drinking glasses and for a fun detail there's an adorable download that can be added to the straws.

(pictured above top):
We have so many different sizes and shapes of glass jars that can be used for candies. Many can only be purchased in our stores but there are a few glass containers that can be ordered online. Decorate the tops of the glass jars with ribbons and tags from the download. Don't forget to put out a few scoops so that guests can help themselves. I love how Elle added assorted ribbons to our plain boxes and used them to give different containers on the table some height.
(bottom left to right):
1.We have a great assortment of glass bottles available in stores and online. These ones are adorable grouped together. Just add a single flower to each vase! Pretty and so easy - anyone can do this - and it's a great way to add some floral elements to your sweet table.
2. Download the bunny glasses and nose, print them on thick white card stock and attach wood sticks to create these fun Easter props. These are cute as a display element on the sweet table even if you don't have a photo booth. Although I bet there will be a lot of selfies taken with these adorable items hanging around.
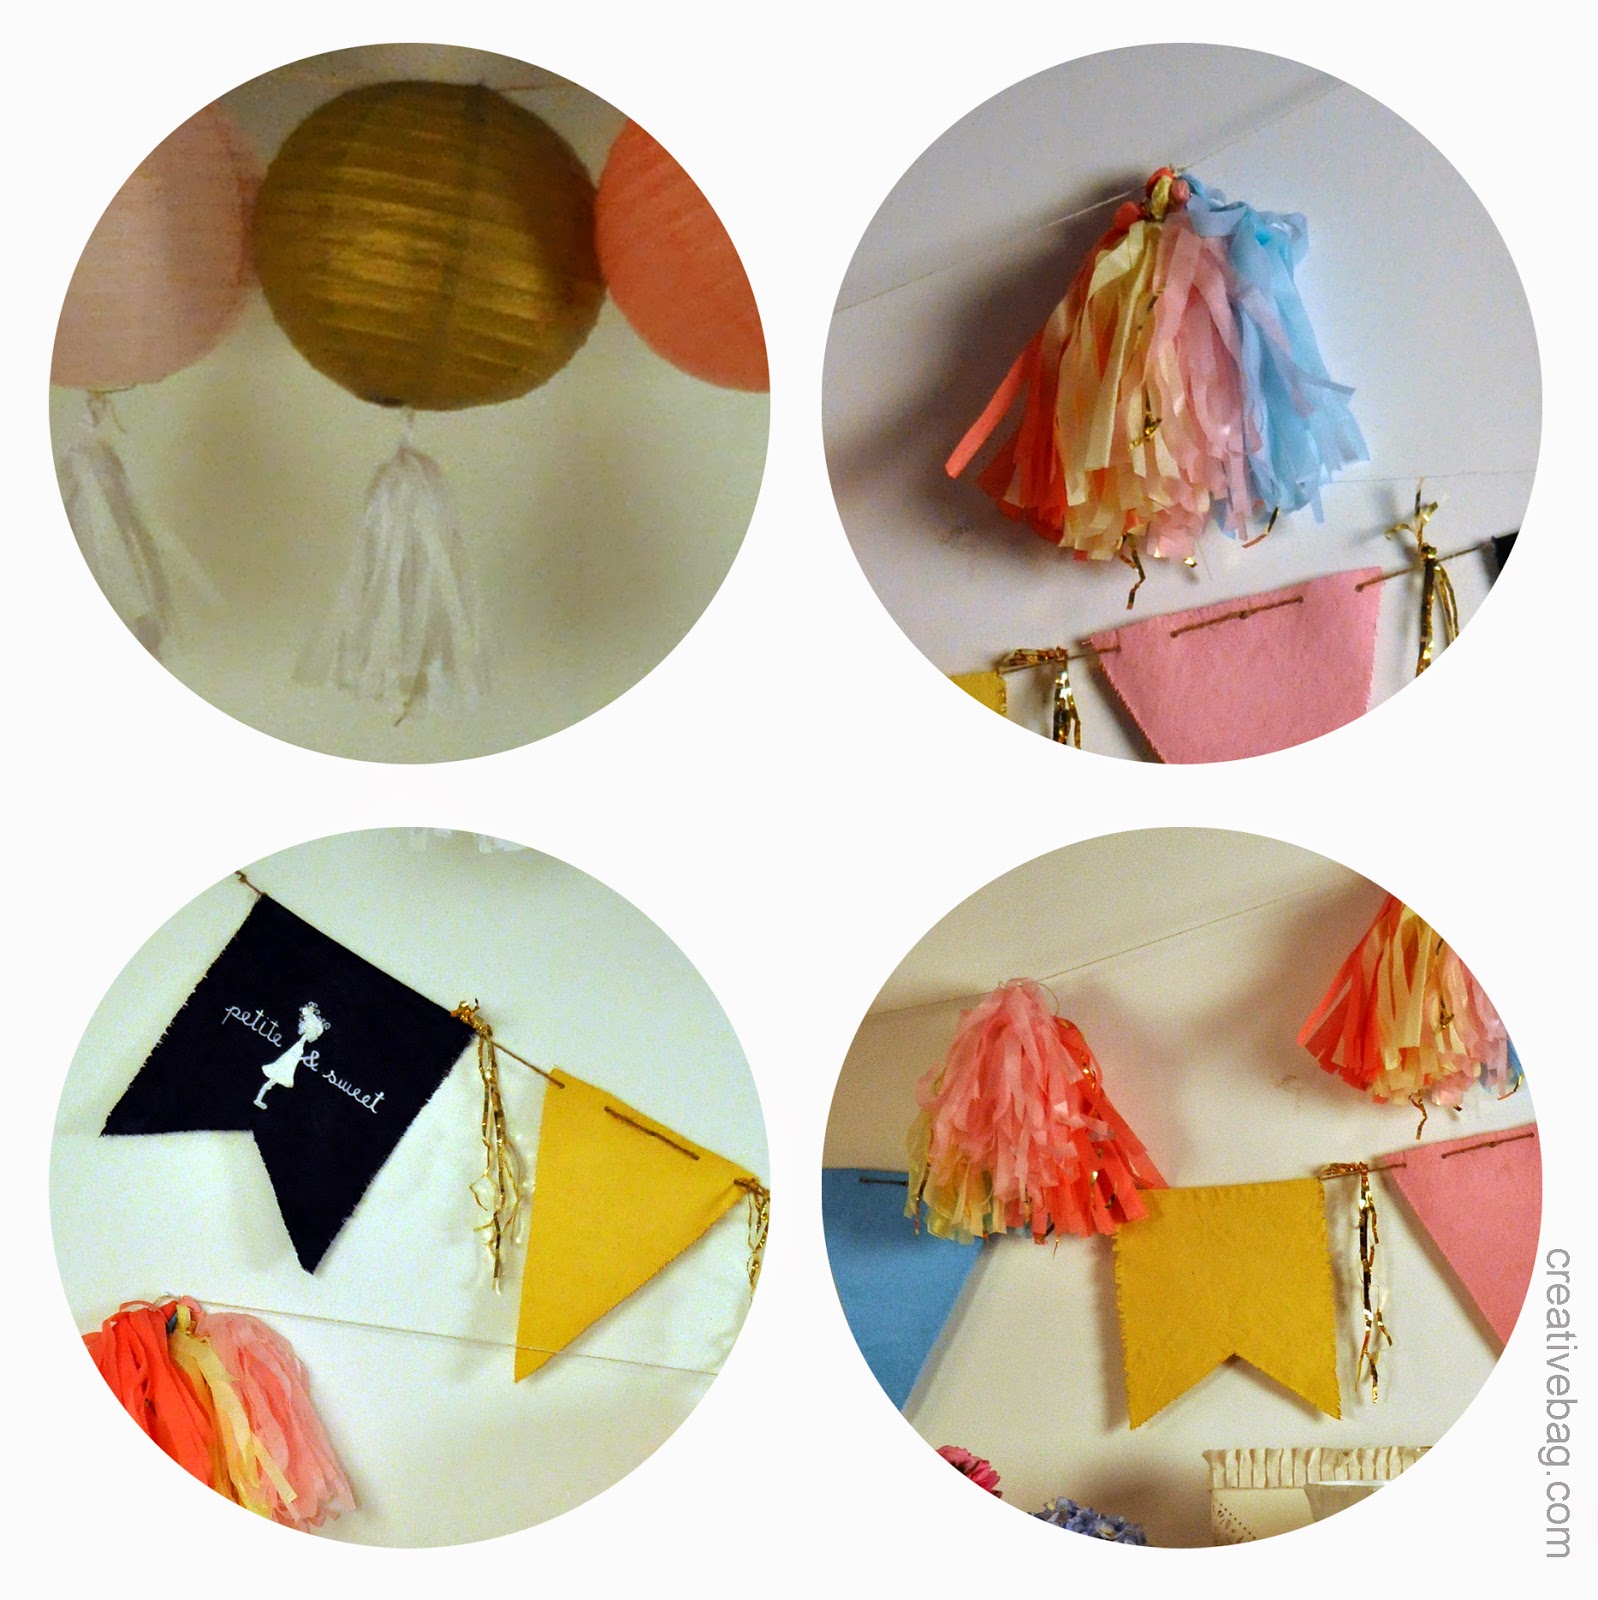
(pictured above left to right):
Some of our backdrop elements ...
1. Tissue paper tassels were added to our paper lanterns for a nice detail. I added a couple of pieces of gold mylar sizzle to each paper tassel by simply adding them in as I twisted the tissue. You can find my tutorial for making tissue paper tassel garlands here.
2. Instead of attaching the tissue paper tassels as single tassels along the twine they were arranged in bunches.
(bottom):
Our linen bunting is available in two different shapes. I painted the linen bunting using acrylic paint and chalkboard paint. You can find my instructions for painting on linen bunting here. We added more strands of gold mylar sizzle to the bunting by simply tying it together and looping it over the string. The bunting and tissue paper tassel garland were hung diagonally so that they would cross over one another.
Like what you see? Click on the video below to see it. We hope that you "Like" it.
FYI - Kerry and I didn't know that we would be in the video but we have a little cameo at the end. Honestly, we thought that the group shots were just going to be for photos for the blog.


⋅No comments
Post a Comment